No products in the cart.
Return To Shop
Ultimate Guide to Silver Spray Painting Your Car at Home
Every scratch on your car feels like a sting, no matter how small, it disrupts the sleek look of your ride and can be a real downer. But don’t worry: with the right tools, techniques, and a bit of patience, you can often restore your car’s finish in a weekend and without paying steep body-shop prices. Getting the best Silver Spray Paint for car, you can ensure the best outlook of your car.
Identify the Scratch Depth and process to follow
You should begin by checking how deep the scratch is by gently running your fingernail along it. If your nail glides over smoothly, it’s likely just a clear coat scratch. If it catches, the damage likely goes deeper into the base coat, primer, or even metal.
- Clear-coat scratches affect only the glossy top layer and are often fixable with polish.
- Base-coat scratches penetrate the colored paint and require touch-up paint.
- Primer or metal scratches are the deepest and need primer before paint to prevent rust
Clean and Prep the Area
Start by washing the scratched area with soap and water to remove dirt and debris. Once it’s clean, wipe it down with isopropyl alcohol or a dedicated degreaser to remove wax and oil residue. Doing this ensures the paint adheres properly and hides no hidden contaminants. Getting the Silver Spray Paint for car, you can ensure the best look of your car.
Mask Off Surrounding Panels
Use painter’s tape and paper or plastic sheeting to cover the surrounding area and prevent overspray. Protect edges, adjacent panels, and trim from accidental paint. A well-masked workspace yields crisp, professional-looking edges .
Sand the Damaged Area
For clear-coat scratches, gently wet-sand the area with 2000–3000 grit sandpaper until the edges feel smooth. Keep the surface wet while sanding to avoid gouging. This helps the subsequent paint layers blend seamlessly. If the scratch is deeper;
- Start with 400–600 grit sandpaper to remove rough edges and any rust.
- Then move to fine grit (2000–3000) for a polished finish—and only sand until you reach soft, smooth edges
Apply Primer if Metal Is Exposed
If you can see bare metal or primer, apply a thin layer of automotive primer. Hold the can about 10–12 inches away and use multiple light coats instead of one heavy one. Let it dry completely, manufacturer recommendations typically span 30 minutes to several hours. Best Silver Spray Paint for car or priming prevents rust and improves paint bonding .
Match the Paint Color Accurately
Identifying and matching your car’s paint code is essential. The code is usually found inside the door jamb or under the hood. Automotive spray paint in silver, black, or red should be factory-matched to this code. Testing a small spot on an inconspicuous area helps catch any subtle shade differences due to fade .
- Silver Spray Paint for cars often contains metallic flakes that reflect light, making blending easier.
- Gloss black tends to be very revealing of flaws, so prep is crucial.
- Candy or pearl red finishes are the most unforgiving; color match and technique must be precise
How to Apply the Paint for a Smooth, Even Finish
Prime the can by shaking it vigorously for 2 minutes. Hold the can 10–12 inches from the surface and begin spraying beyond the edges of the scratch to blend. Apply 2–3 light, even coats, waiting 5–10 minutes between every layer. Avoid heavy passes that cause drips . Light mist coats allow better control and smoother results.
Apply Clear Coat for Protection
After the color coats dry, seal them with a clear coat. Spray in light, even pass and build up in 2–3 coats. The clear coat provides durability, gloss, and UV protection, making the repair long-lasting and visually consistent .
Wet Sand Smooth
Once the clear coat cures fully (usually overnight):
- Wet-sand with 3000–5000 grit sandpaper to smooth out any texture from spraying.
- Keep the surface very wet while sanding, using minimal pressure.
- The goal is to fade out the edge line and level any slight elevation.
Polish to Bring Back Shine
Use a rubbing compound and a microfiber cloth (or a dual-action polisher on low). Work gently in circular motions until the finish regains clarity. Follow up with a fine polish to add depth and gloss. This final phase ensures a blended, high-quality outcome
Wax and Seal the Repair
Finish by applying a quality car wax or sealant to protect the repair from environmental stressors and UV damage. This final layer enhances durability and restores a uniform gloss across the repair area.
Try Quick Fixes for Minor Scratches
For shallow, superficial scratches that only affect the clear coat:
Rubbing compounds, toothpaste, WD-40, or even a black permanent marker (for dark cars) can temporarily mask the damage.
Know When to Call a Pro
DIY beware: deep scratches that cover large areas, affect colored layers, or involve body filler may need professional attention. Pros with equipment and precise color-matching can achieve flawless results—much harder to replicate at home
Use Proper Safety Precautions
Always wear a respirator mask, chemical-safe gloves, and work in a ventilated, dust-free environment. Spray paints and primers contain solvents (like acetone) that can be hazardous if inhaled or absorbed through the skin.
Prevent Future Scratches
Maintain a protective barrier by:
- Washing with a two-bucket method and microfiber cloths.
- Waxing or sealing your finish regularly.
- Choosing parking spots away from trees and tight spaces.
- Avoiding automatic car washes that use abrasive brushes
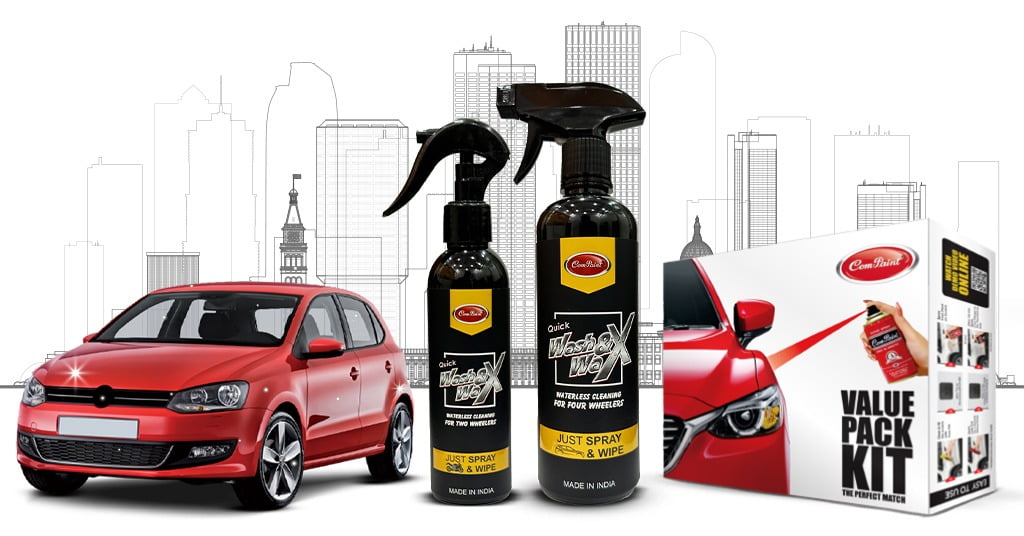
Recommended DIY Spray Paint Kits
For those in India or similar markets, consider reliable options like the COM‑PAINT Scratch Remover Kits. These kits include:
- Color-matched spray paint
- Finishing solvent
- Rubbing compound, filler, and sanding pads
- Applicator tools—all in one package
Understand Limitations and Manage Expectations
DIY repairs typically reduce visibility rather than eliminate it entirely. As one journalist test-repaired deep scratches on a Mazda CX-5 using aftermarket kits and polishing tools, they noted improvement—but the scratch remained faintly visible under close inspection. Red and black cars are particularly unforgiving; even small mismatches are noticeable. Transparency about expectations is key.
Conclusion
Repairing your car’s paint is about more than fixing scratches, it’s about preserving your car’s character and protecting it from future damage. With sensible preparation, patience, and proper materials, even non-professionals can achieve results close to factory finishes.
- Always start with proper assessment and cleaning.
- Match paint precisely—shade variations are costly mistakes.
- Use light coats layered carefully, finishing with a generous seal and polish.
- Consider professional help for complex or large-area damage.
When you’re up for it, spray paint for cars by COM‑PAINT offers great convenience and toolsets to get you started. If you’d like, I can suggest specific silver, black, or red spray cans matched to your car’s code, just let me know your model and color!

Related posts

Car scratches happen often. Flying debris can hit your car. Careless parking hurts the paint. Even a small collision can leave a mark. These scratches make your car look old.... Continue reading

People are keen to get cars to drive or maybe for showcases. It depends on the situation, but when your car gets scratched, what do you do? Obviously, you would... Continue reading

Your car is more than a mode of transportation. It’s a reflection of your personality, style, and attention to detail. The right auto paint enhances your vehicle’s aesthetic appeal while... Continue reading
Are you tired of searching endlessly for the perfect paint to restore your car’s shine? Here, you’ll find the best solutions to bring your vehicle back to life. A gleaming,... Continue reading

Cars are an essential part of our daily lives. They take us places, provide convenience, and serve as our trusted companions on the road. But just like any other vehicle,... Continue reading